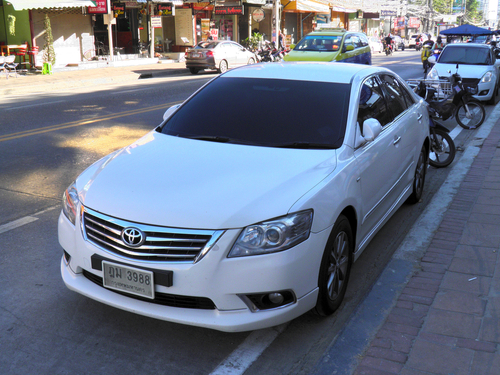
The check engine is the most common warning light that appears in the Toyota Aurion’s instrument cluster. Well over half of this site’s content is related to solving the various reasons why the check engine light comes on.
The good news is that the check engine light indicates that there are Diagnostic Trouble Codes (DTCs) stored in your Aurion’s computer, which is a very good thing. DTC’s really help save time determining what is wrong with your car.
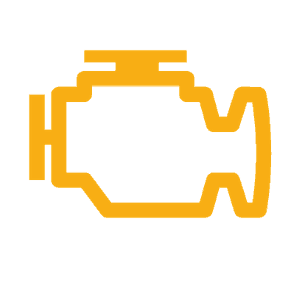
The check engine light is often referred to as the Malfunction Indicator Lamp (MIL) or Service Engine Soon light. All three terms are 100% interchangeable.
Table of Contents
- What Are Trouble Codes?
- How to Pull Trouble Codes
- How to Reset the Check Engine Light
- Common Questions
What Are Trouble Codes?

Trouble codes are a number sequence of letters and numbers that correspond with a standardized list of problems that can occur in any vehicle, including the Toyota Aurion. Some of them are Toyota specific, while most have the same meaning no matter who made the vehicle.
Common OBD II Codes
The most common of all trouble codes is P0420 (it indicates your Toyota Aurion’s catalytic converter isn’t scrubbing pollutants efficiently).
Here are some of the other most common codes:
- P0442– Small EVAP leak (most commonly fixed by tightening a loose gas cap or replacing it)
- P0300– Random misfire (bad ignition coil(s), spark plugs, or spark plug wires).
- P0128– Engine running too cool (almost always caused by a thermostat that’s stuck open)
- P0172– Air Fuel mixture too rich (there are many causes, including oxygen sensors, leaking injectors, or too much fuel pressure)
The most common codes are related to the emissions system. Some of them are as easy to fix as replacing your Aurion’s. Others require serious diagnostic tests from a repair shop.
How to Pull Trouble Codes on the Toyota Aurion
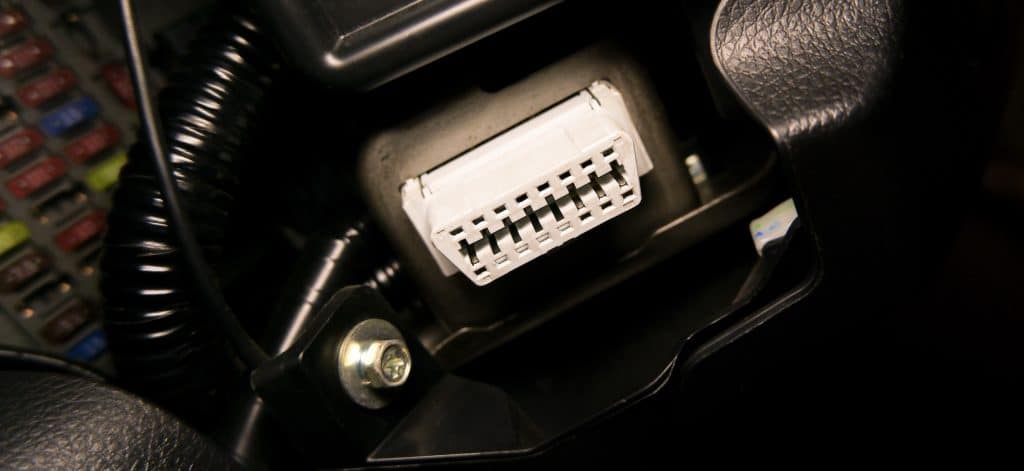
You can either pull the trouble codes from your Aurion’s PCM (Powertrain Control Module) yourself, or you can bring your vehicle to a parts store or shop to have it scanned.
Pull Them Yourself
You can put a scan tool into the OBD II port and pull codes out of the diagnostic system yourself. Any vehicle made for the 1996 model year and up uses the same protocol.
You can usually find the OBD II port underneath the Aurion’s steering wheel. The exact location of the port is going to depend on what model year you have. If you don’t see it check the owner’s manual or do a quick google image search.
Once your scanner is online, you can pull the codes. You should see a retrieve codes option.
Take Your Carortruck to a Shop or Parts Store

If you don’t have a scan tool, you can take your Aurion to the local parts store. Most of them are happy to pull the codes for you for free.
A lot of auto shops also offer free scan service, but you may find pressured into authorizing whatever repairs they suggest on the spot.
Once you have the codes in hand, you can look them up and determine what’s wrong with your Aurion.
How to Reset the Check Engine Light
There are three ways to reset the Toyota Aurion’s check engine light. We recommend trying to identify the problem and fixing it before resetting the check engine light.
1. Fix and Wait
The best way to clear the check engine light is to pull the trouble code, identify and fix the issue and then drive your Aurion around until the module that threw the code recognizes that the problem is fixed.
Sometimes it can take a few drive cycles for your car’s check engine light to shut down. Other times, it’ll happen as soon as you fire the vehicle up. Some folks prefer to clear the code and see if it comes back on
2. Use an OBDII Scanner
You can use an OBDII scanner to turn off your Aurion’s check engine light. The catch is, that if you don’t fix the problem, the light will turn on again.
This is done by connecting a scan tool to your Aurion’s PCM and choosing the “clear codes” option.
Once you’ve identified and fixed the issue, wait for three or four days of normal driving to see if the Check Engine Light turns back on.
If it does not come back on after this period, then you can assume that your Toyota Aurion is fixed and the light won’t be turning back on.
3. Disconnect the Battery
If you’ve identified and fixed the issue that caused your Aurion’s Check Engine Light to come on, resetting the light is as simple as disconnecting and reconnecting the battery. This can be done by unhooking both cables from the battery terminals (negative cable first) and waiting 30 seconds before reconnecting them.
Once the battery is reconnected, your Check Engine Light should be reset and should no longer be illuminated. If the light does come back on again after you reset it, then it means that the issue has not been properly fixed and needs further attention.
Common Questions
Will a Vehicle Fail Inspection With the Check Engine Light On
If you are looking to get your Toyota Aurion through emissions and the check engine light is on, it is an automatic fail in almost every State in the Union. It doesn’t matter why the check engine light is on, it only matters that a code is stored.
Here’s a list of the emissions regulations of each State.
You can’t reset a check engine light to circumvent emissions requirements. When you reconnect the battery, the OBD II system is going to need several drive cycles to qualify to take an emissions test, which will give it enough time to recognize the issue.
Can You Drive With the Check Engine Light On?
Whether you can drive your Aurion with the check engine light on depends on the code(s) that triggered the check engine light.
You certainly can’t drive the Toyota Aurion with the check engine light flashing. A flashing check engine light indicates that there is a serious problem with the engine.
Why is My Check Engine Light Flashing?
A flashing Check Engine Light typically indicates a serious issue with your Aurion and should not be ignored. It usually indicates a catastrophic misfire that can dump raw fuel into the exhaust system, which can damage the catalytic converter and cause backfiring. Do not drive your car with a flashing check engine light.
