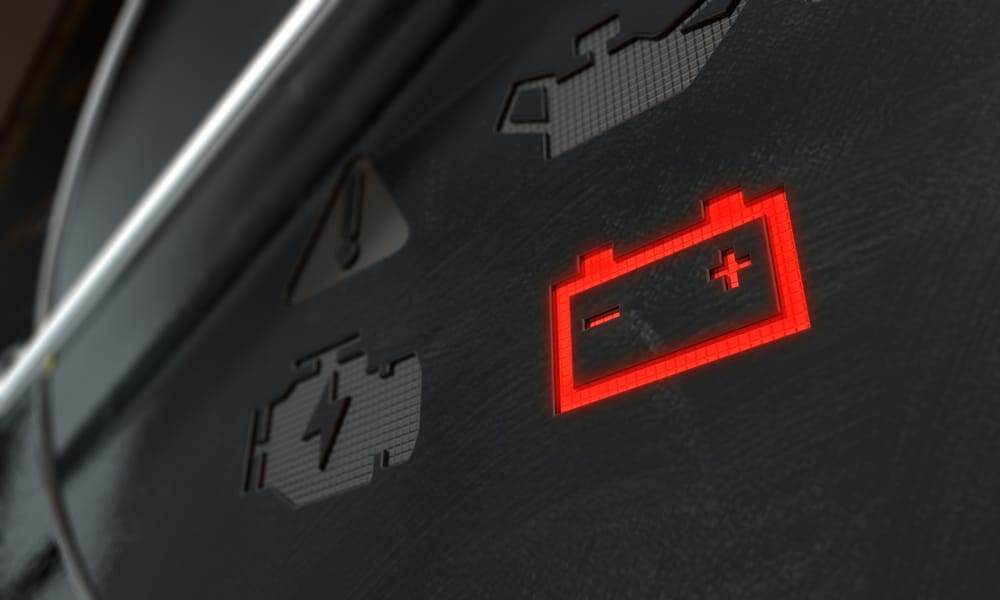
If your Dodge Journey’s battery light is on, it is trying to warn you that there is an issue with the charging system.
The charging system itself is relatively simple. The battery light comes on because the voltage level at the battery is too low.
Quick Facts
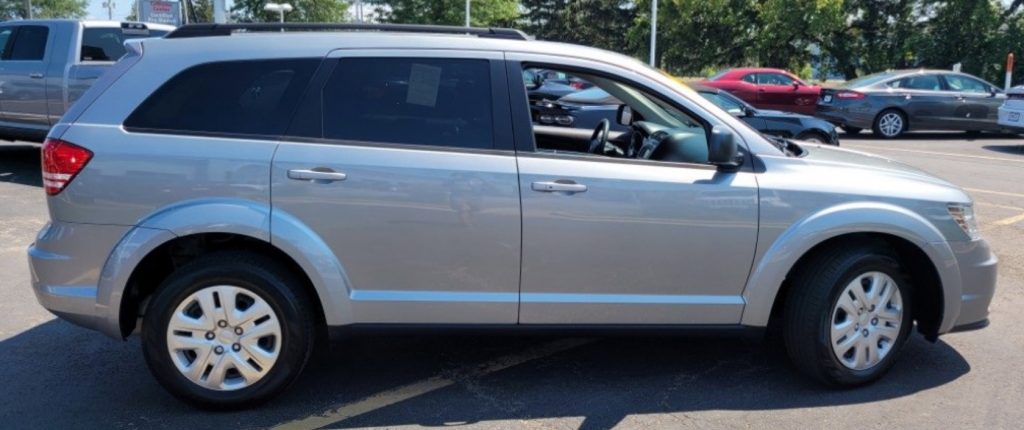
| Common Causes | Faulty Battery, Bad Alternator, Battery Cables, Battery Terminal Corrosion |
| Breakdown Risk? | Yes, Without Enough Voltage, the Engine Will Die |
| Symptoms | Climate Control Failure, Weak Headlights, Random Misfiring, Red Battery Light (None at first) |
| Typical Repair Cost (Parts) | Battery $100-200, Alternator $150-$300 |
Most battery lights will come on when a vehicle starts if the computer has detected that the voltage is too low to turn the starter at the proper RPM. Your Journey’s battery light can come on at any time while driving if the voltage drops below a certain threshold.
You may have noticed your vehicle struggling to start, and the battery light stays on after the start. That would indicate a bad battery, but it’s still worth your while to test it first.
Dodge Journey Battery Light Causes + Diagnosis
The charging system in vehicles hasn’t changed that much in the last 50 years. Here are the basics of how your Journey’s charging system works:
- A serpentine belt turns the alternator.
- The alternator charges the battery and powers your vehicle.
- The voltage regulator produces a fixed output voltage, which keeps the system from overloading.
- The battery stores voltage for when the starter needs it or a sudden voltage demand increase.
- The battery warning light tells the driver if there is an issue with the charging system.
Directly below are the common causes for the Dodge Journey battery warning light. The potential fixes are presented in a good way to check your vehicle.
1. Check The Serpentine Belt
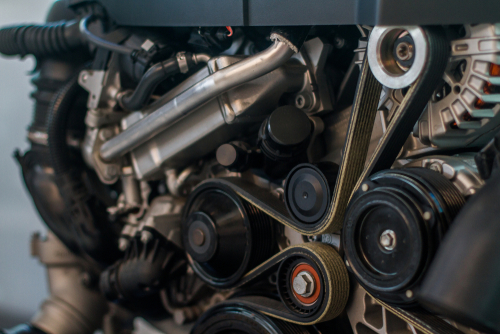
Before testing your Journey’s battery, examine the basic things. The serpentine belt that turns the alternator is top of the list.
Take a look at the alternator. Is the belt missing? Is it shiny and cracked? If it is missing entirely, don’t drive your Journey for any reason until you replace it. If it’s shiny and cracked, it may not be turning the alternator fast enough to charge the battery, even if it is there.
With the engine running, take a look at the serpentine belt. If it appears wobbly or is making a squeaking sound, replace it.
2. Clean any Battery Post Corrosion

Next, examine the battery posts. If they have a battery acid buildup, you may fix your Journey’s alternator warning light by cleaning them and the battery terminals.
The voltage from the alternator goes to the battery through a wire that connects it to the battery post. If the battery post is corroded, it won’t be able to do its job of sending the voltage to and from the battery efficiently, and your Journey’s battery light will turn on.
It only takes a second to check the battery posts out. A battery post cleaner or wire brush can clean them in no time. Just be careful not to get any of the corrosion in your eye.
Battery post cleaner is available at most parts stores. You can also mix a generous amount of baking soda in water to clean the terminals. Let it sit in the mixture for about 10 minutes.
3. Bad Ground Wire
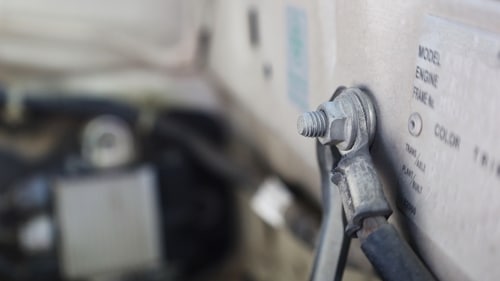
Above, we discussed that a bad ground connection at the battery could cause the lights to flicker and a no-start condition. But, a damaged or loose ground connection can cause the problem anywhere on the cable.
Inspect your Journey’s ground cable for any obvious damage. Then, follow it to its mounting location on the engine block or chassis. Make sure that it is snugged tightly and that there’s no rust underneath it. This is a very common reason why dash lights flicker/no start.
4. Test the Alternator
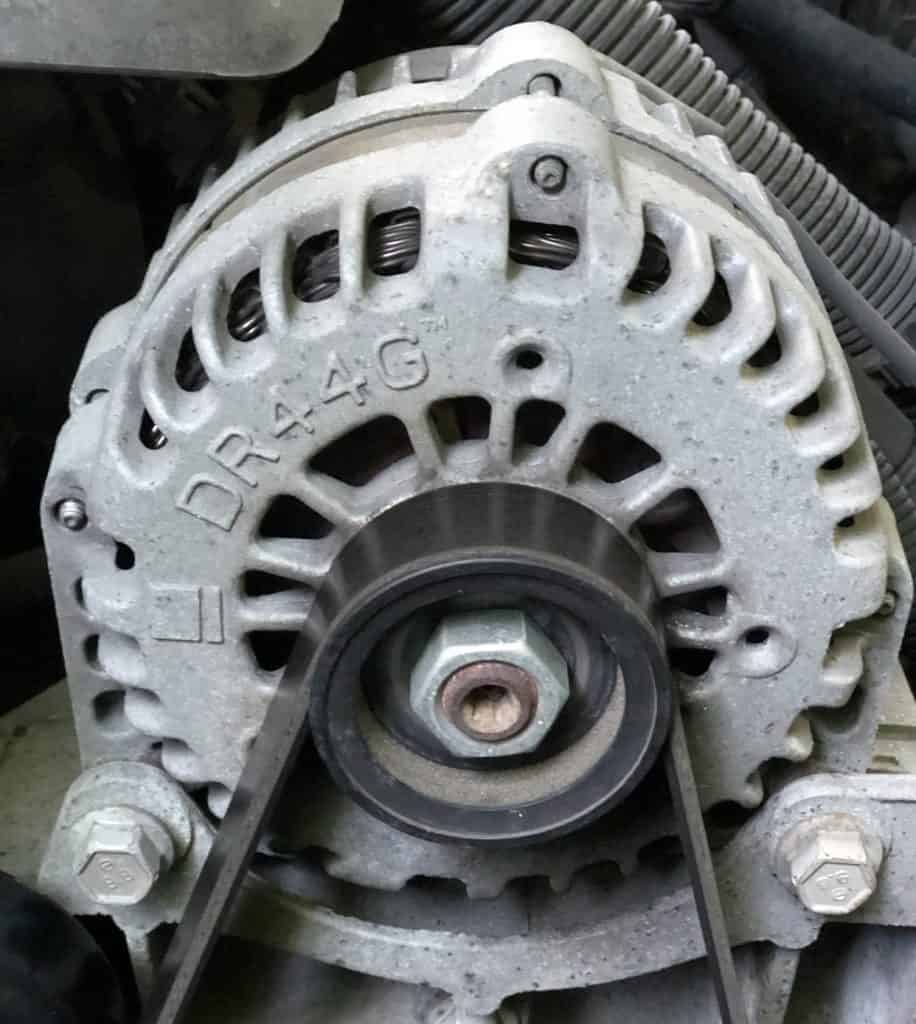
If you have a multimeter, you can test your Journey’s alternator at home in no time. It’s super easy:
- Set the multimeter to read voltage. Specifically, you’ll need to set it to 20V DC.
- With your Journey turned off, you’ll connect the negative side of the meter to the negative battery post. Touch the positive side of the voltmeter to the positive battery wire. With the engine off, you should get a reading somewhere between 12.0 volts and 12.6 volts.
- Now that you have a baseline, it’s time to turn the engine on. Leave the air conditioner off, as well as the headlights and any other accessories.
- After firing the engine up, you should get over 14.2 volts. If you got 14.2 or more volts, the alternator is charging fine. If it’s still showing in the 12’s, it’s time to replace the alternator. If it’s producing a voltage level in the 13s, go ahead and take it into a parts store and have it tested. It’s probably faulty.
- Assuming that the alternator was producing over 14 volts, go ahead and turn on the headlights, air conditioner, radio, and any other accessory you can think of, and run the same test again. If the voltage dropped back into the 12s, it’s a very strong indication that your Journey’s alternator needs replacing. It’s still worth having it tested, but be prepared to replace it.
An alternator that’s not putting out enough voltage will usually make itself known when the engine is running.
If you see your Journey’s battery light turn on while driving, it’s likely the alternator is no longer providing enough voltage to power the various electrical systems and charge the battery simultaneously.
Can You Drive Your Journey With a Faulty Alternator?
It is not a good idea to drive with a bad alternator. If you must, there are things you can do to prolong how long the vehicle will last before the battery dies:
- Turn off the climate control
- Turn off the radio
- Don’t use the auto-start feature
- No headlights. If you have to drive at night, it’ll drain the battery fast
Basically, anything you can turn off is going to prolong how far your Dodge Journey can go with just the battery. It’ll probably sputter and misfire a bit before the engine gives out entirely.
5. Test the Battery
If the battery light stays on but doesn’t turn back on after running the engine for a few minutes and then starting back up, it’s likely you’ll need to replace your Journey’s battery.
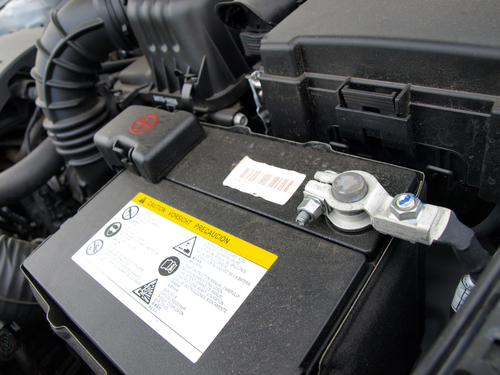
If the battery posts are clean, and you had over 14 volts on your multimeter with the engine idling under full accessory load, but the voltage drops below 12 volts when you shut your Journey off, it’s likely the battery is bad.
You can take it to a parts store and have it tested and replaced free of charge. It’s a great way to get you to buy a battery from them.
Your Journey can run off the alternator just fine once it’s started. This is an important thing to know. A dead battery usually makes itself known when you are trying to start the vehicle.
Resetting the Battery Light
You shouldn’t have to do anything to reset your Journey’s battery light. It should take care of itself as you fix the problem. Sometimes, it’ll stay on if the voltage level was too low when starting the vehicle. In that case, it should turn off on the next start (if the problem was fixed)
Conclusion: Dodge Journey Battery Light
Jumping straight to battery replacement will often fix your Journey’s battery warning light, but taking a look at the charging system first can save you a lot of money.
Your Journey will operate for a short period of time off of the battery alone. But, if the alternator has gone bad, it will eventually leave you stranded.
If your battery light comes on on the road, get somewhere to have it tested as soon as possible. Operate under the assumption that you will be stranded.
