A functioning horn is one of a vehicle’s most critical safety features. If your Honda Shuttle’s horn isn’t working, there are a few potential causes. We’ll cover each of them, starting with the easiest and most likely issues and working from there. A test light can make diagnosing a horn that isn’t working much easier.
The horn is typically located behind the front grill on the Honda Shuttle and is usually pretty easy to change if necessary.

1. Fuse Blown

A blown fuse is often the reason why your Shuttle’s horn stops working and should be the first thing you check (unless the airbag light is on). If it is, go down to section 3.
Your Shuttle’s horn fuse could be located in the engine compartment or under the dash. A sticker inside the fuse box should tell what each fuse does on the backside of its door. You can also check your van’s manual for a schematic of the fuse locations.
Testing the Fuse
It’s easy to test your Shuttle’s horn fuse. If you have access to a test light, you don’t need to pull the fuse at all.
Clamp the test light onto a good ground source (metal that’s not painted that bolts to the body, chassis, engine block, or negative battery terminal).
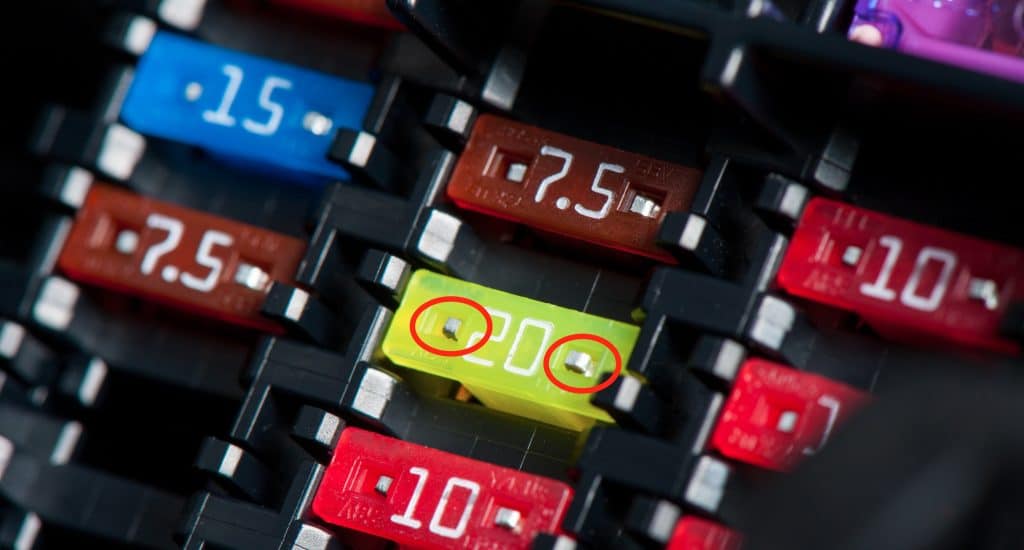
Once your test light is grounded, test the Shuttle’s horn fuse by touching both electrical contacts. If only one of them is hot, then the fuse has failed. If they both light up the test light, the fuse is OK.
You can pull the fuse and look at the element that connects the two fuse blades. If it’s broken, the fuse is blown. You’ll need to determine what caused the horn fuse to fail in the first place. Otherwise your Shuttle’s horn will stop working again.
2. Horn Wiring Harness

Take a look at the horn’s wiring harness. It’s another quick thing you can check when your Honda Shuttle has a broken horn. It’ll be tucked in behind the grill.
Is it connected to the horn all the way? Follow it and look for any burned, damaged, or scarred wiring. Repair as needed and see if the horn works.
3. Broken Clock Spring

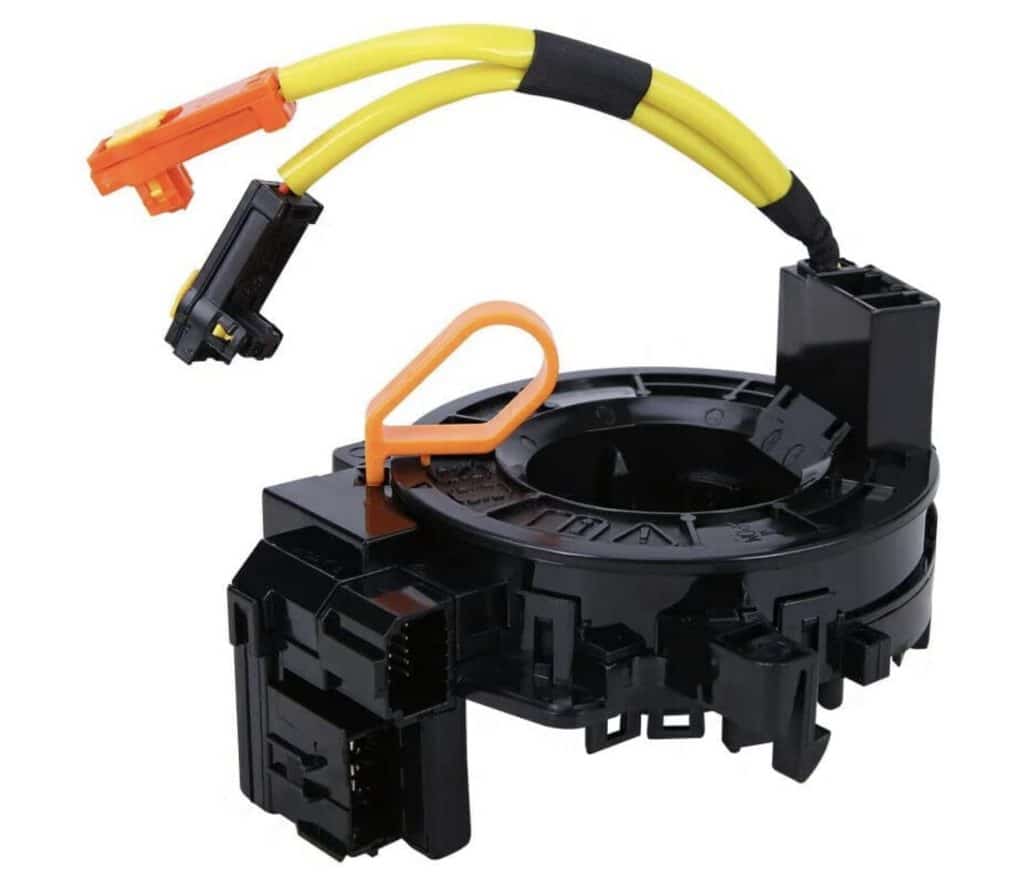
A clock spring allows the steering wheel to rotate without turning the wiring harness inside the steering wheel.
On a modern vehicle like the Honda Shuttle, the clock spring supports a minimum of two systems (the airbag and the horn). If your van has steering wheel controls, the inputs for those go through the clockspring as well.
Testing the Clock Spring
There are two ways to test your Shuttle’s clock spring. You can turn the wheel back and forth and observe what happens, or you can use an OBD II scanner (if the airbag light is on).
Turn the Wheel
Push the horn button and turn the steering wheel while you continuously press the horn. If the horn works at different angles or the airbag light goes on and off, that indicates that the clock spring has gone bad.
Use a Code Reader
It’s highly likely that your Honda Shuttle’s airbag light will also be on when the clock spring is bad. You can use an OBDII code reader to determine what is causing it to come on. It should confirm that the clock spring has failed.
4. Faulty Horn Relay
The horn button sends power through the clock spring, down the harness, and to the horn relay. The horn relay will be located under your Shuttle’s hood in the relay box. It might be under the dash (not usually the case). The video below shows how to test the horn relay.
5. Horn Failure
It’s quite possible that your Honda Shuttle’s horn has failed. It has likely failed if it has a solid ground connection and power at the harness connection. You can test it using a jump wire from the battery straight into the power. Check out the video above for a quick way of trying it.
